 Uncategorized
Guitar Building: The Journey, Not the Destination
I like to make things. When I was young, I would ride my bike to the library to pursue the shelves, looking for a seed of inspiration that might lead to some new project. However, like most people, I never followed through on many of my most brilliant plans. Like the time I was inspired by a book about scientists who were studying the rainforest by creating a network of zip-lines high above the forest floor. I tried to raise money within my network of friends so that we could build our own network of zip-lines in the woods behind my house. Would have been so cool. Failed at the funding stage. Or the time I was inspired by a Popular Science article about how to build a personal hovercraft. Just imagine the adulation from your peers pulling into Jr. High on one of those babies. Oh, the glory that could have been.
There are many things that have been dreamt, but never made. But, that doesn’t change this fact: I like to make things. It is the reason I went to art school; It is the reason I became a software developer; It’s the reason I play music. Some people call it creative, but I think of it more as being interested in producing versus consuming.
Most of the things I make these days are accomplished with small increments of time. Music is good for this. You can do it for a couple of hours, and there’s no mess to clean up…that is, unless you’ve had too many drinks. Pinewood derby cars. They’re small. They take a couple of evenings. Your kid can win a trophy. How great.
But I still dream of those grand rainforest zipline projects. The excuse for not starting is always time and money, and maybe skill.
Recently I got an email from lmii.com, which is Luthiers Mercantile International Inc, for those not in the know, offering me a deal on a build-your-own-guitar kit. I got this email because years back I was going to build a banjo and ordered some supplies. Banjo never got built. Ran into funding issues…or was it skills issues, anyhow, I don’t want to dwell on that failure. The point is that I have since been on lmii’s mailing list, and for years, week after week, I’ve been receiving emails on all sorts of instrument building supplies. I’ve ignored every single one except the build-your-own-guitar email.
Guitar making has always held a special place in my I-like-to-make-things-heart. Guitars are made of cool woods. Their craftsmanship can be phenomenal. They make noise. What more could you want? Plus, I play guitar, and was recently inspired by this fellow I met over the summer that had recently finished building his eighth guitar.
So, maybe the timing of the email was just right, because it rekindled a dormant interest.
This time I plan to take action.
Where to start? Where else: Google. I spent a couple of evenings reading about the materials, the tools, and the process. Then I spent a couple more evenings reading about alternative woods, alternative tools, and, you guessed it, alternative processes. Enough to make your head spin. Building a zip-line network in Brazil would probably be easier.
Undeterred, I called the fellow I met over the summer and had a chat about my insanity. He didn’t think I was so insane. So, I bought a book on how to build a guitar. Now, the first time you outlay any real cash is an important hurdle that should be recognized. That is the moment at which you’ve convinced yourself that the dream is possible. If it weren’t possible, you’d never dole out cash for it.
The first important thing I learned was that in order to build a musical instrument, you need to make sure that your environment is conducive to building musical instruments. Huh? So, that means that if your room is too humid, your guitar will crack and fall apart when the dry air of winter sets in. So, the sage advice is, ‘get a room’.
the second thing I learned was that the first thing you build is not the guitar. The first thing you build are tools for building a guitar. Many tools. We’re not talking about screw drivers and pliers. Instead, strange contraptions like Go-Bar decks, and more common things like molds, templates and shooting boards.
The third thing I learned was that tools are freak’n expensive. One way to cut cost is to buy old tools and refurbish. Hand planes are a good example of this. Old Stanley hand planes from the early 1900’s can be refurbished into great tools.
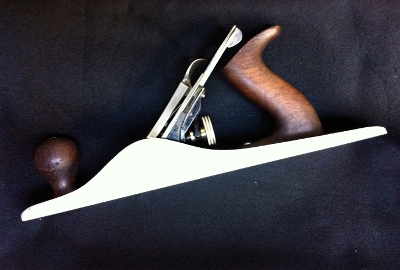
Which leads me to the fourth thing I learned…how to refurbish old hand planes.
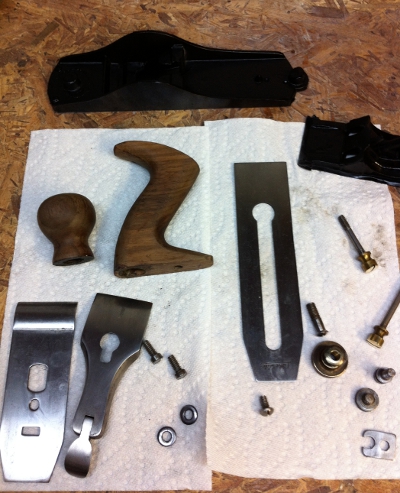
All this learning reminds me of why I like to make things. It’s about the process, the learning, the thrill of victory, the agony of defeat, and all the stories you get to tell at the end of your experience.
I recently told a friend about my endeavor. I confided that I can’t really honestly say if I’ll complete the project or be successful. He reminded me that it doesn’t matter. “You’ve already done something good, you’ve already learned something you didn’t know before.” And I thought, yeah, right, it’s about the journey, not the destination.
So, I’m gonna do my best – no promises – to make a journal of my progress. I want to do this for a few reasons. One, I want to remember all the things I did. Two, I’ve been inspired and have learned from the stories that others have told about their journeys. Three, I like to make things. But I guess I’ve already covered that.
So, let’s begin…
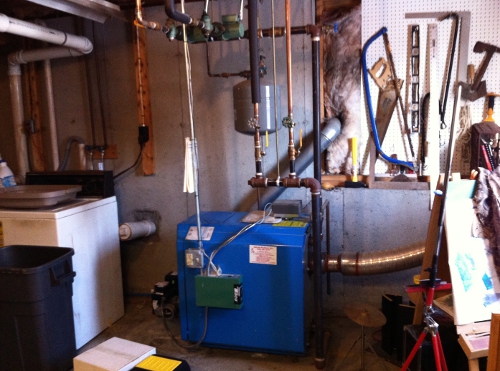
My workspace before I decided to build a guitar…
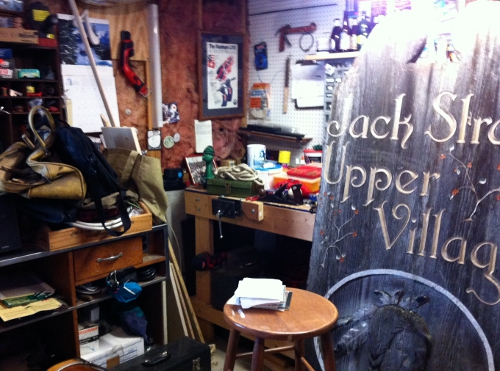
I drew up a rough plan for how to improve my workspace. The basic ideas was to partition my basement so that I could create more usable wall space, shut out the noisy boiler, and control the humidity and temperature so that my guitar won’t explode six months after I build it.
The actual results strayed a bit from the plan, but they were close. This is a composite picture made from a bunch of pictures, showing 360 degrees of the room…
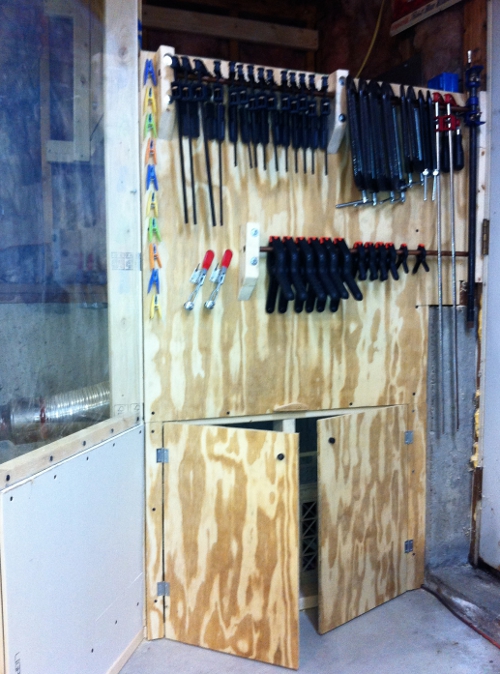
Here is a detail. You can see the boiler behind the door. Also, there is a window to the right to let natural light into the rest of the basement. Also to the right is a storage cabinets, clamp racks and shelving for storing wood.

Here is a detail of the cabinet, clamp racks, shelf and window. The clamp racks were made with old copper pipe I found laying around. Oh, and lots of clamps from Harbor Freight Tools. Cheapest I could find. If one breaks, I’ll buy another.
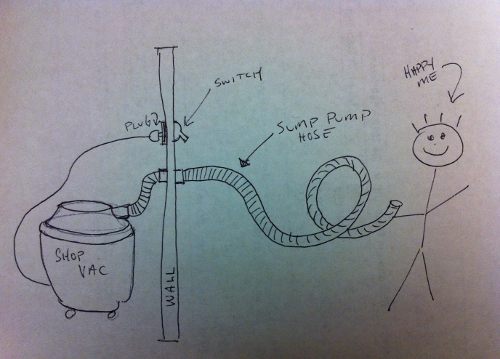
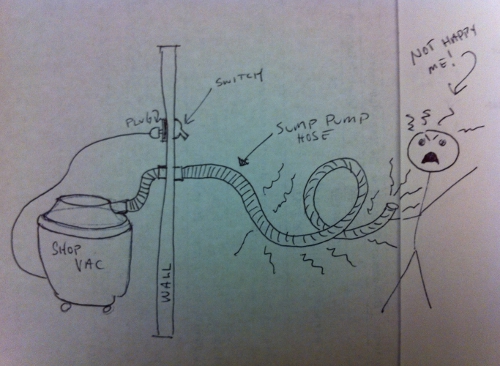
I also had this great idea that I could use my old shop vac for a basic dust collection system. The plan was to put an outlet on the outside of the room that my shop vac would plug into. The plug is controlled by a switch on the inside of the new room. Then I could leave my shop vac, which is noisy, outside the room and pipe it through the wall. I found a 25 foot piece of sump pump hose at home depot, went to the plumbing department, found some fittings, and connected the fittings to the wall and the hoses to the fittings.
The problem with this plan, and I found out at the very moment that I was prepared to relish victory of my achievements, is that this twenty-five foot length of hose caused standing sound waves the moment I flicked on the switch. It made the loudest piercing sound I have ever heard. And remember, I’m a fifer, I am accustomed to loud piercing sounds. This was excruciatingly unbearable. I was crushed. Dreams dashed. Agony of defeat.
A week later, I found a piece of 2 inch plumbing pipe nestled in my rafters. After determining that it was not attached to anything important, I decided to ditch the sump pump hose and replace it with the pipe, and extend that with a shorter hose that was designed for shop vacs.
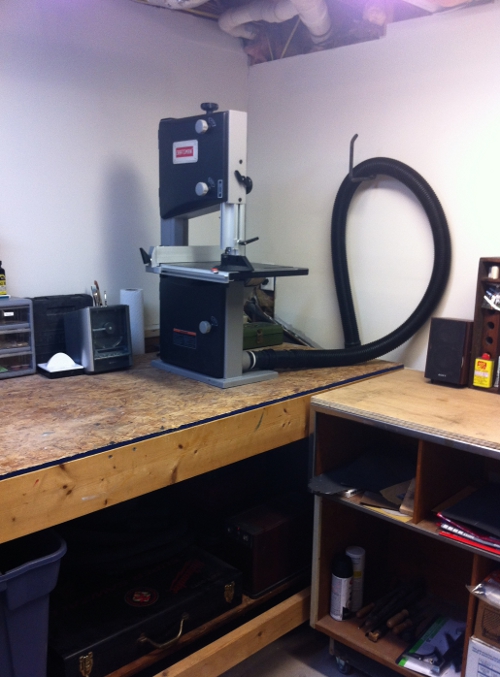
Here is a final picture, of the other side of the room, showing this new hose that is curled up and attached to the band saw. the other end of the hose, which you can’t see, is attached to the 2 inch pipe, which essentially runs through the wall to my shop vac. Flick on the switch … dust collection heaven.
And just for the record, here are some other key things I did:
- Insulated
- Wallboarded
- moved some existing heating ducts
- added a heating duct
- resurfaced one of my benches
- put casters on that same bench because I had to move it a million times.
- Put in two doors. One to get into the room. And one to access my HVAC.
- New lighting
- Two new electrical circuits
Next on the agenda is to see if I can get the whole house humidifier working. Once the humidity and temperature are stable at 65-70 degrees and 45% relative humidity I will begin ordering wood and building molds. Yay!
